Currently Empty: ₹0.00
Introduction:
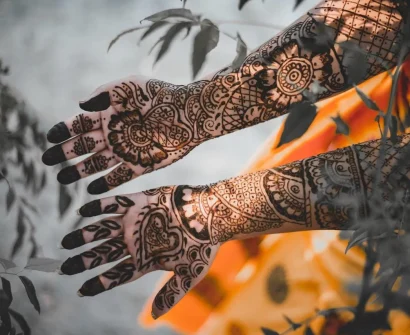
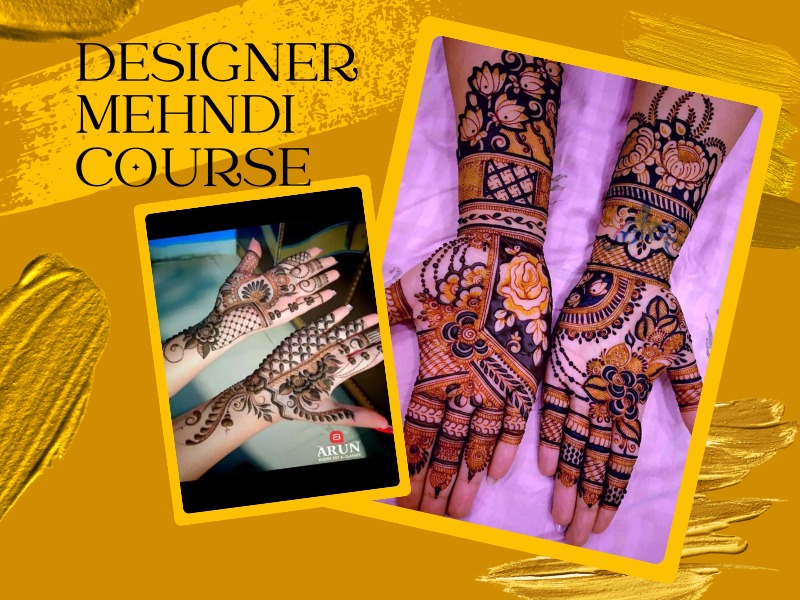
Mehndi, also known as henna, is an ancient form of body art practised for centuries in various cultures worldwide, particularly in South Asia, the Middle East, and North Africa. Traditionally, Mehndi is applied to the hands and feet for celebrations and special occasions such as weddings, festivals, and religious ceremonies. In this beginner’s guide, we’ll explore the art of applying Mehndi and some simple designs to start your journey into this beautiful expression.
Understanding Mehndi:
Mehndi is derived from the leaves of the henna plant, scientifically known as Lawsonia inermis. The leaves are dried, crushed, and finely ground into a powder, then mixed with water, lemon juice, and essential oils to create a paste. This paste is then applied to the skin in intricate designs and left to dry, leaving behind a temporary stain lasting up to two weeks.
Preparing for Mehndi Application:
Before you begin applying Mehndi, it’s essential to prepare your skin to ensure the best results. Start by washing the area where you plan to use the Mehndi with soap and water to remove dirt, oil, or lotion. Dry your skin thoroughly to ensure the mehndi paste adheres appropriately.
Next, it’s a good idea to exfoliate your skin gently to remove any dead skin cells. This will help the mehndi paste penetrate deeper into the skin, resulting in a more prosperous and longer-lasting stain. You can use a homemade scrub made from sugar and olive oil or purchase a ready-made exfoliating scrub from the store.
Once your skin is clean and exfoliated, you can proceed to mix your mehndi paste. You can purchase pre-made mehndi cones from a store or make your paste at home using henna powder. If you’re making your paste, let it sit for a few hours to allow the dye to release fully.
Applying Mehndi:

Now that your skin is prepped and your Mehndi paste is ready, it’s time to apply the design. If you’re a beginner, it’s best to start with simple designs and gradually work up to more intricate patterns as you gain confidence and skill.
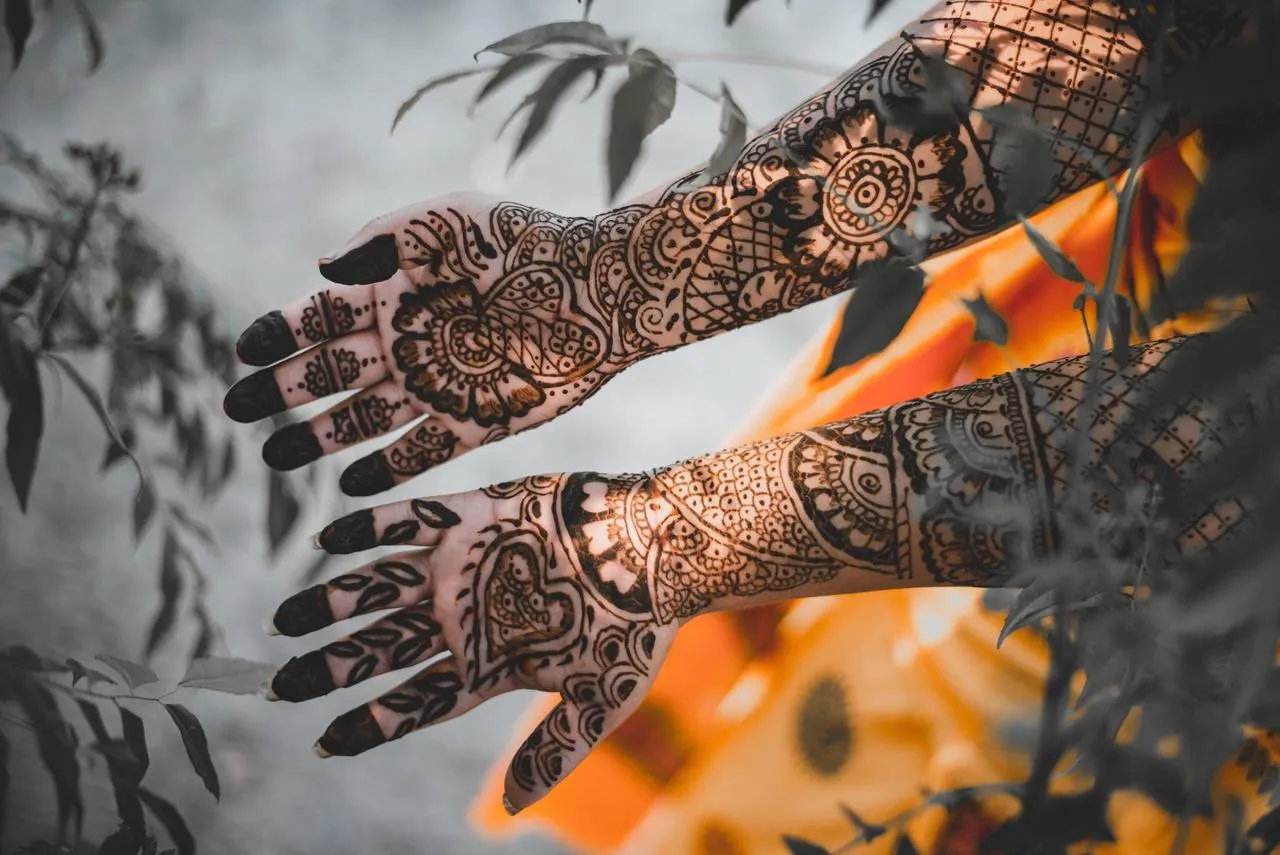
Begin by holding the mehndi cone like a pencil, with the tip between your thumb and index finger. Apply gentle pressure to the cone, squeezing a small amount of paste onto your skin. Start by outlining the design you want, whether a simple floral pattern, geometric shapes, or traditional motifs.
Once you’ve outlined the design, you can fill it in with more mehndi paste, keeping it within the lines. You can use a toothpick or a thin skewer to help spread the paste evenly and create finer details.
Remember to take breaks as you work and let the Mehndi paste dry periodically to prevent smudging. You can speed up the drying process by holding your hand or foot over a heat source such as a candle or a hairdryer on low heat.
After the mehndi paste has dried completely, gently scrape off any excess with a blunt knife or fingernail. Avoid washing the area with water for at least 24 hours to allow the stain to develop fully.
Simple Mehndi Designs for Beginners: Now that you’ve mastered the basics of applying Mehndi, let’s explore some simple designs that are perfect for beginners:
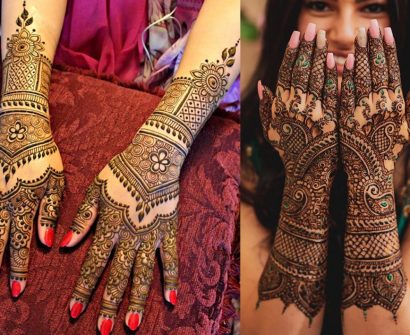
- Floral Vine: Draw a curved line down the centre of your hand or foot, then add small flower shapes along the curve. Connect the flowers with delicate vine-like lines to create a beautiful floral vine design.
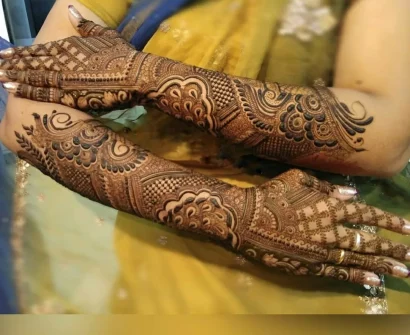
- Peacock Feather: Draw a long, curved line down the centre of your hand or foot to represent the feather’s stem. Then, add short, curved lines branching off the stem to create the feather’s shape. Fill spaces between the lines with small dots or other embellishments for added detail.
- Mandala: Mandala designs are intricate geometric patterns that are perfect for Mehndi. Start by drawing a small circle in the centre of your hand or foot, then add concentric circles around it to create the mandala’s shape. To complete the design, fill in the circles with intricate patterns such as petals, dots, and swirls.
- Arabic Motifs: Arabic mehndi designs are known for their bold lines and geometric shapes. Start by drawing diagonal lines across your hand or foot, then add small circles or squares at the end of each line. Connect the shapes with additional lines and fill the spaces with hatching or shading for a stunning effect.
- Simple Borders: If you’re short on time or prefer a more understated look, simple borders are an excellent choice. Draw a series of small dots or lines along the edges of your hand or foot to create a border, then add small embellishments such as leaves or flowers for added interest.
Conclusion: Mehndi is a beautiful and versatile form of body art that allows for endless creativity and expression. Whether you’re preparing for a special occasion or want to experiment with a new form of artistic expression, learning how to apply Mehndi and create simple designs is a rewarding experience. With practice and patience, you’ll soon be able to create stunning mehndi designs that will impress you. So gather your supplies, unleash your creativity, and let your imagination soar as you explore the world of Mehndi artistry.